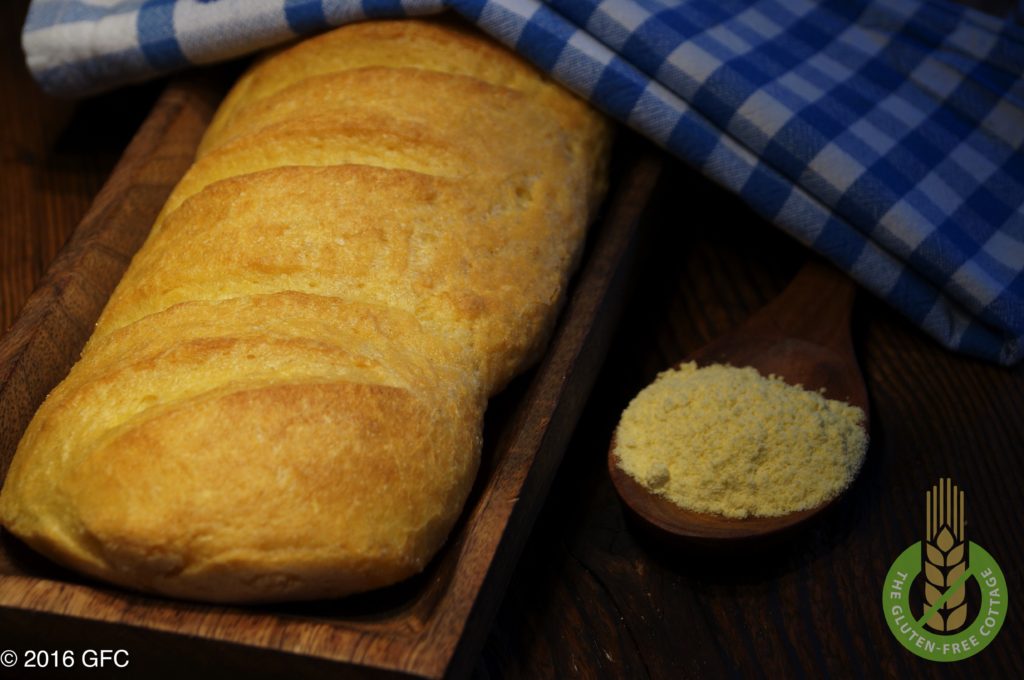
Do you want to know what I love about French bread? It reminds me of the time when I was an exchange student in Paris. I ate at least one loaf of French bread (also called baguette) a day. Of course, it showed on my weight, but at that time I did not care too much about that. Hell, I was student and more than happy to have the opportunity to study at a reputable university in one of the most beautiful cities in the world.
I love baguette, I really do. This feeling of crispiness of the crust and at the same time the soft crumb inside is hard to describe with words. In this moment, I forget about everything and just savour the taste of the baguette. Usually, I would tear big chunks of the baguette and put lots of butter or sometimes jam on it. Or I would buy delicious cheese in a French supermarket and make a kind of cheese baguette sandwich. It was like heaven for me. Pure joy – until I found out about my intolerance to gluten.
I was devastated about the dire prospects to never again be able to eat the wonderful crispy and tasty French bread. I bought more or less OK gluten-free baguettes from the supermarket or health food stores. But I just knew that was not it. That could not be the end of it. So, I decided to do something about it and try to make my own gluten-free baguette.
Of course, you cannot compare this gluten-free French bread to a real French baguette you can buy in Paris. But hey, that is a too tough competition anyway and by all means, my family and I love this baguette – so I am happy. In fact, the last time I baked it, it took my family of four only one and a half minutes to finish off a whole loaf of my gluten-free French bread. No kidding!
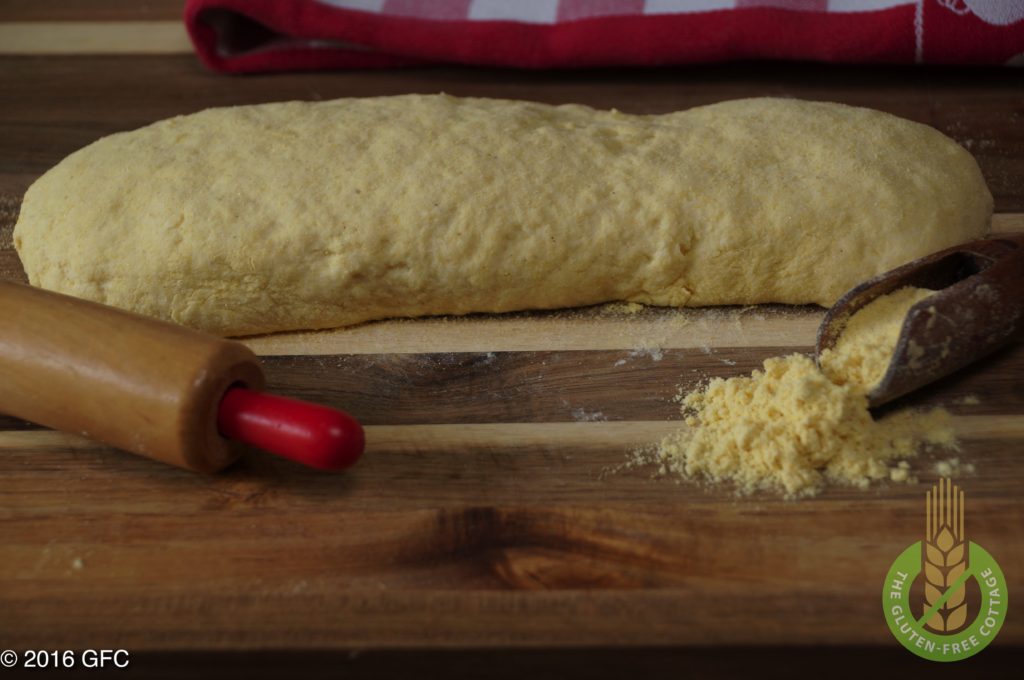
After the first rise, the dough is scraped out of the bowl and quickly kneaded by hand to bring it into a loaf shape, before having its second (shorter) rise (gluten-free French bread or white bread).
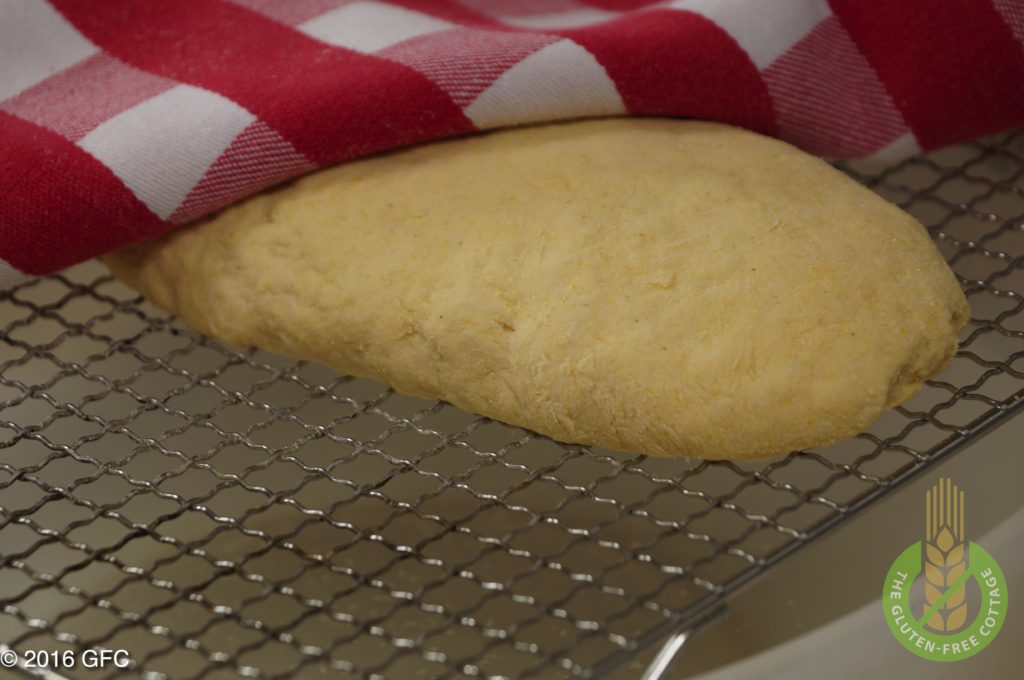
The dough is resting for about 20 minutes over a warm water bath to rise again (gluten-free French bread or white bread).
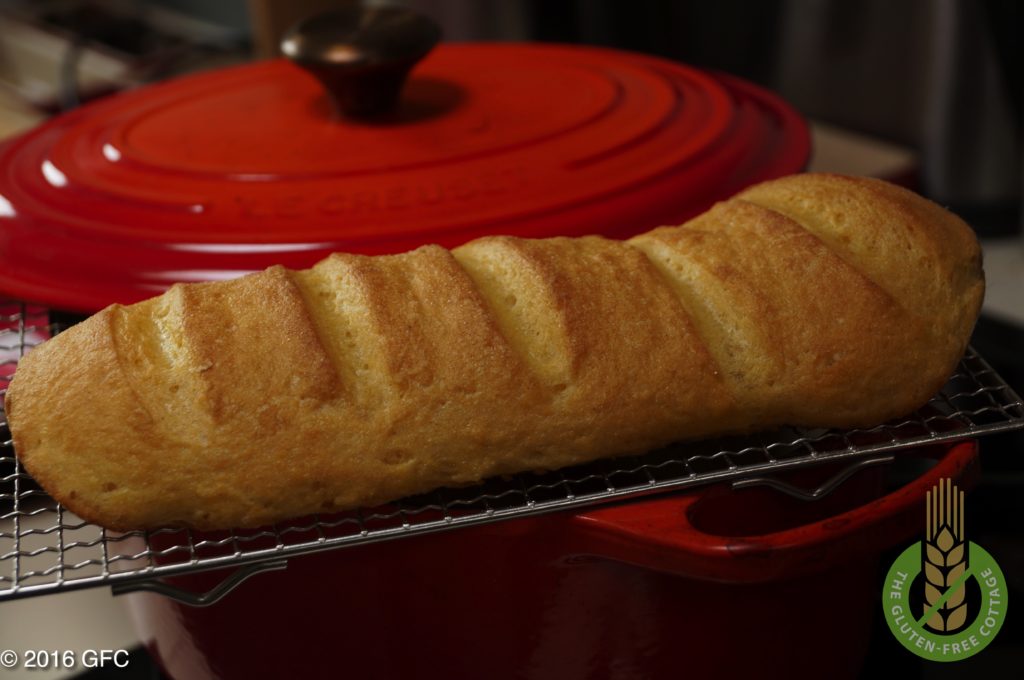
The baked bread needs to cool off on a baking rack (gluten-free French bread or white bread).
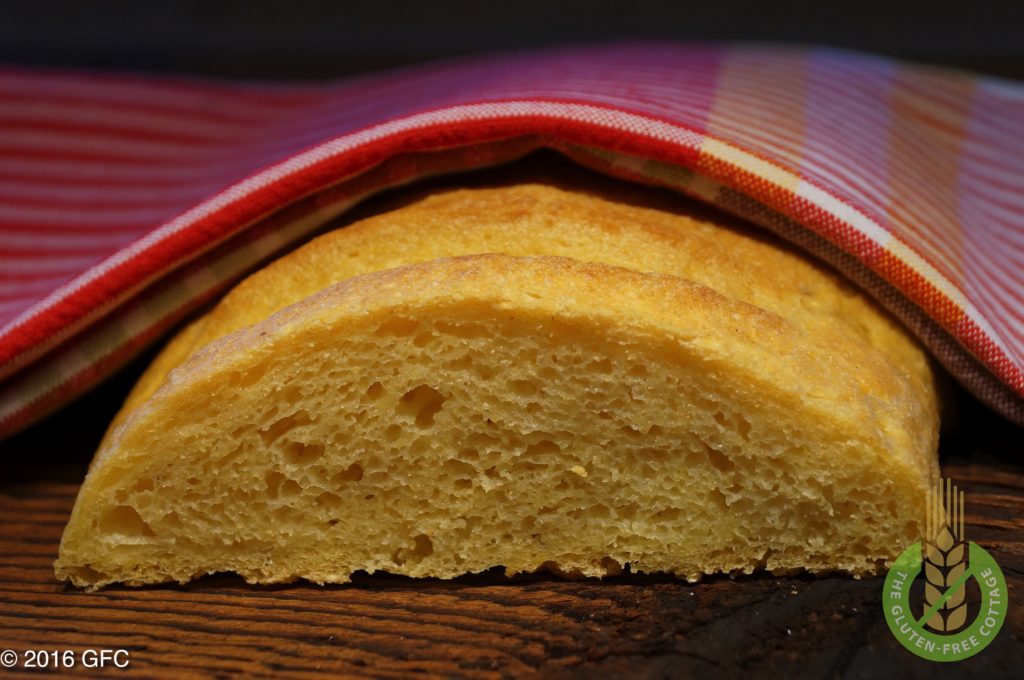
Nice crispy crust and soft crumb of the gluten-free French bread (or white bread).
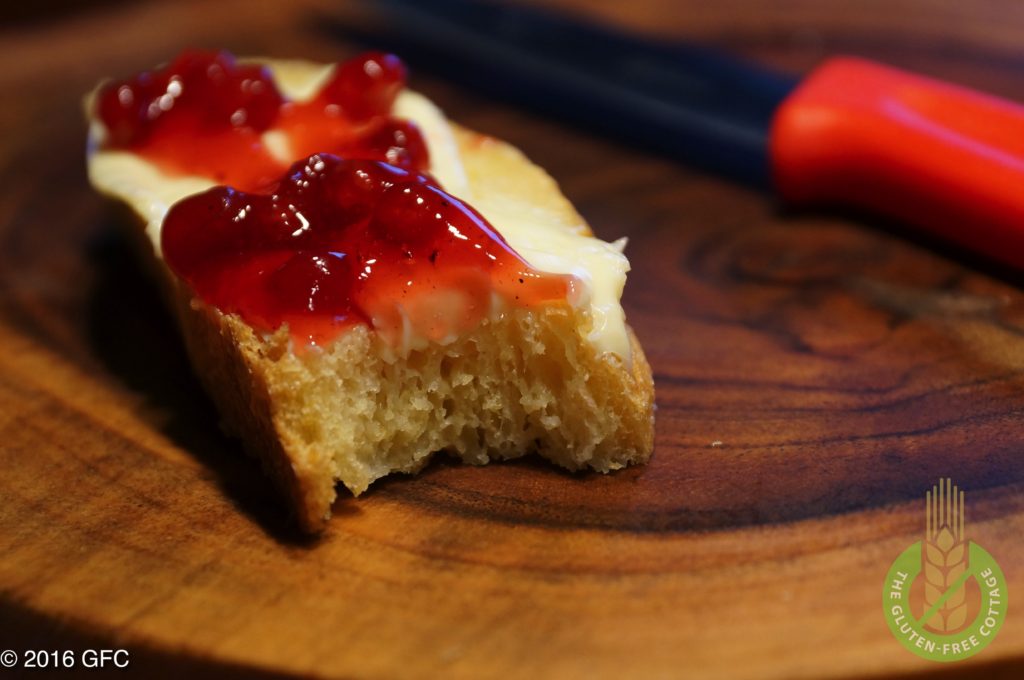
Enjoy a slice of yummy gluten-free French bread (or white bread) with butter and jam!
My Recipe:
Crispy Gluten-Free French Bread
| Prep time: | Rise time: | Bake time: | Total time: | Yield: |
|---|---|---|---|---|
| 15 mins | 1 hour 50 mins | 50 mins | 2 hours 55 mins | 10 slices |
INGREDIENTS
Dry Ingredients
- 150 g [≈ 1-1/2 cups] corn flour
- 50 g [≈ 1/3 cup] white rice flour
- 150 g [≈ 1-1/3 cups] corn starch
- 150 g [≈ 1-1/2 cups] tapioca starch
- 2 TBS psyllium seed husk powder
- 2 tsps. locust bean gum powder (or xanthan gum powder)
- 2-1/2 tsps. salt
Liquid Ingredients
- 500 ml [≈ 2 cups] water, lukewarm
- 1 TBS canola oil
- 1 TBS apple cider vinegar
Yeast Ingredients
- 2 tsps. active dry yeast
- 1 tsp. granulated sugar
- 100 ml [≈ 1/2 cup] water, lukewarm
- You will also need a big enough “Dutch oven”, i.e. an enameled cast-iron cooking pot with approx. 6 liters [≈ 6 quarts] with a tight-fitting lid.
DIRECTIONS
- Make dough: Mix all “dry” ingredients thoroughly in a large bowl (best use an electric mixer with a big mixing bowl);
- Pour all “liquid” ingredients in an extra bowl and mix them.
- Place all “yeast” ingredients in a small cup, stir thoroughly and let it rest for a couple of minutes at a warm place until you see small bubbles at the surface.
- Pour the “yeast” and “liquid” ingredients into the big mixing bowl with the “dry” ingredients and mix for about a minute, until the dough gets a little bit less sticky and shows more “structure” (the psyllium husk powder absorbs water during the mixing process).
- First rise: Place the bowl at a warm enough place (I always use a warm water bath), cover it with a tea towel and let it rest for about 1-1/2 hours, until its size has approx. doubled.
- Take a rubber spatula and scrape the sticky dough out of the bowl, put it on a surface covered with corn flour and knead it shortly with your hands. If necessary add more corn flour and continue kneading until you can form a nice firm loaf with a baguette-like shape.
- Second rise: Cover the dough with a tea towel and let it rest for another 20 minutes at a warm place so that it can rise again (by approx. one third in size). I always put the loaf on a small baking rack and place it on top of a big bowl with hot water as the heat and the moisture (hot steam) help rise the dough and later form a nice crust in the oven.
- In the meanwhile, turn on the oven at the highest temperature possible (which is 270 °C/ 520 °F with my oven) and put the empty Dutch oven (with lid) in it.
- After about 20 minutes take the hot Dutch oven out of the oven, take the (hot!) lid off and place the raw bread loaf in the middle section of the very hot Dutch oven (I mostly just let it drop inside). Generously sprinkle water on top and also at the side of the loaf as this helps build a nice, crispy bread crust. Cover it with the lid and put it in the oven again.
- Bake: Let the bread bake for about 30 minutes with the lid on (the closed system with hot moisture is necessary to form a very nice crunchy crust), then take the lid off, decrease the oven temperature to about 220 °C (430 °F) and let it bake for another 20 minutes, until the crust gets nice and crunchy/crispy.
- Now take the Dutch oven out of the oven and place the hot bread on a baking rack for about an hour or so to cool.
- Enjoy your crunchy and crispy gluten-free French bread!
Tips & Tricks
- If you add a little bit of vitamin C powder to the dry ingredients of the dough (see #2), the bread shows a more fluffy texture at the inside, i.e. the crumb gets softer.
NOTES:
tsp. = teaspoon = 5 ml
TBS. = tablespoon = 15 ml
ml = milliliter
g = gram
1 cup = 1 cup [US] = 235 ml = 16 tablespoons (TBS)
1 liter = 1.0567 US quarts (liquid)
1 quart = 1 US quart (liquid) = approx. 0.946 liters

The Gluten-Free Cottage (GFC)
© 2017 GLUTENFREECOTTAGE.COM ALL RIGHTS RESERVED